There are a few different ways you can record your MacBook screen. The easiest way to do it is using Apple’s built-in screen recorder. Other ways include using other apps, some of them from third-party providers. We’ll look at these different methods of recording your screen and which suits you best depending on your needs.
Whether you are recording to create a tutorial, trying to record a meeting, or doing it for a personal project, you will find the perfect way to do it. Read this step-by-step guide to learn how to record your MacBook screen. We will also look at keyboard shortcuts for recording, and how to save, edit, and share recordings, as well as a few common issues and how to troubleshoot them.
You will have your high-quality recordings in no time if you follow the guide.
Use the Screenshot Toolbar for screen recording
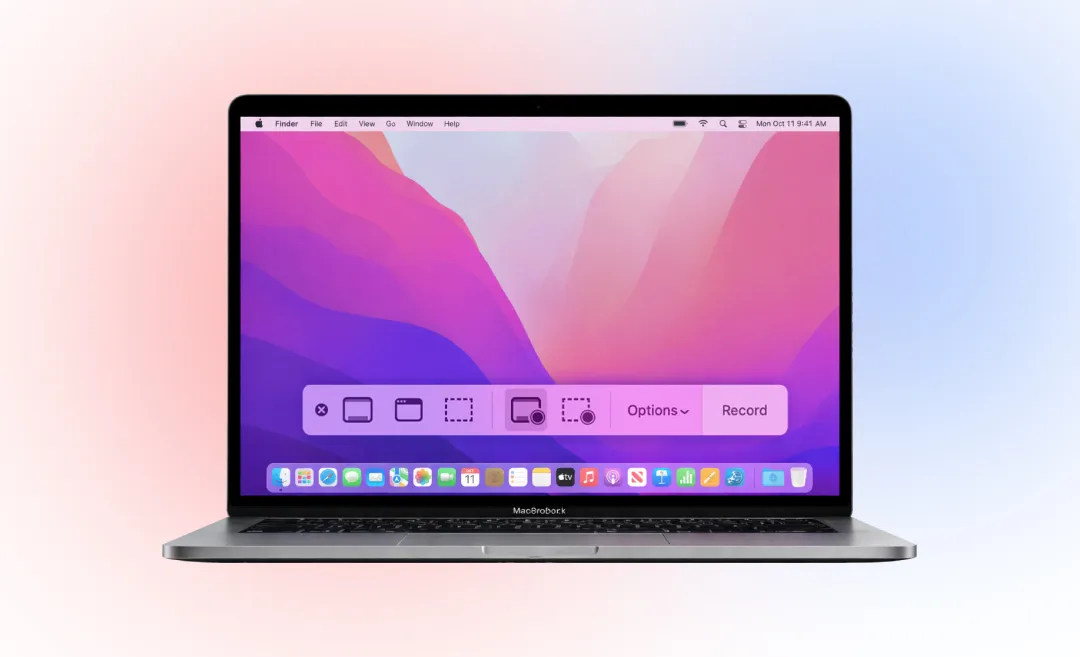
Your MacBook has an app called Screenshot Toolbar that makes recording your screen very easy. To access it quickly, you can use a keyboard shortcut. This tool allows you to record either your whole MacBook screen or a portion of it. You don’t have the option to record a certain window only. That is only available for taking screenshots.
Keyboard Shortcut for Screen Recording on MacBook
This shortcut makes screen recording on MacBook fast and easy. Here’s how to use it:
On your keyboard, press the keys “Shift + Command + 5” to open the Screenshot Toolbar.
Record the entire screen
Using the Screenshot Toolbar, you can now record your MacBook screen. The steps below show you how to record your entire screen.
- Press the keys Shift + Command + 5 at the same time on your keyboard.
- Click on the Record Entire Screen button.
- Click on Options to choose where you want to save your recording, set a timer of 5 or 10 seconds, enable audio recording, and more.
- Click Record to start the recording.
Record part of your screen
If you don’t want to record your entire screen, you can record only a portion of it as well. The steps to do that are very similar to the steps above, but with one small difference.
- On your keyboard, press Shift + Command + 5 at the same time.
- Click Record Selected Portion.
- Drag your cursor to select the area of your screen you want to record. You can also change the selection by hovering your mouse cursor over the edges of your selection and dragging it.
- Click on Options if you need to adjust anything on your Mac for audio recording, saving location, or a timer.
- Click Record to start.
How to end a screen recording
To stop recording your screen on your MacBook, click the Stop button in the top right menu bar or press the keyboard shortcut.
The keyboard shortcut for stopping a screen recording is Command + Control + Esc.
Where do screen recordings go on MacBook?
The file will be in .mov format and it will save to desktop by default, unless you changed the file save location in the Option menu of the toolbar. To check what save location you set, open the toolbar and check.
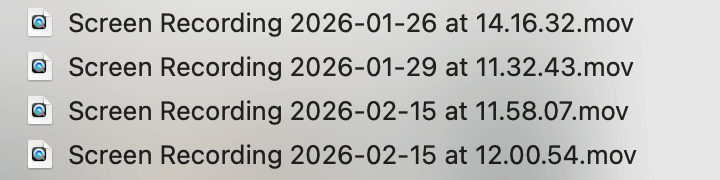
The file will be name with “screen recording” followed by the date and time.
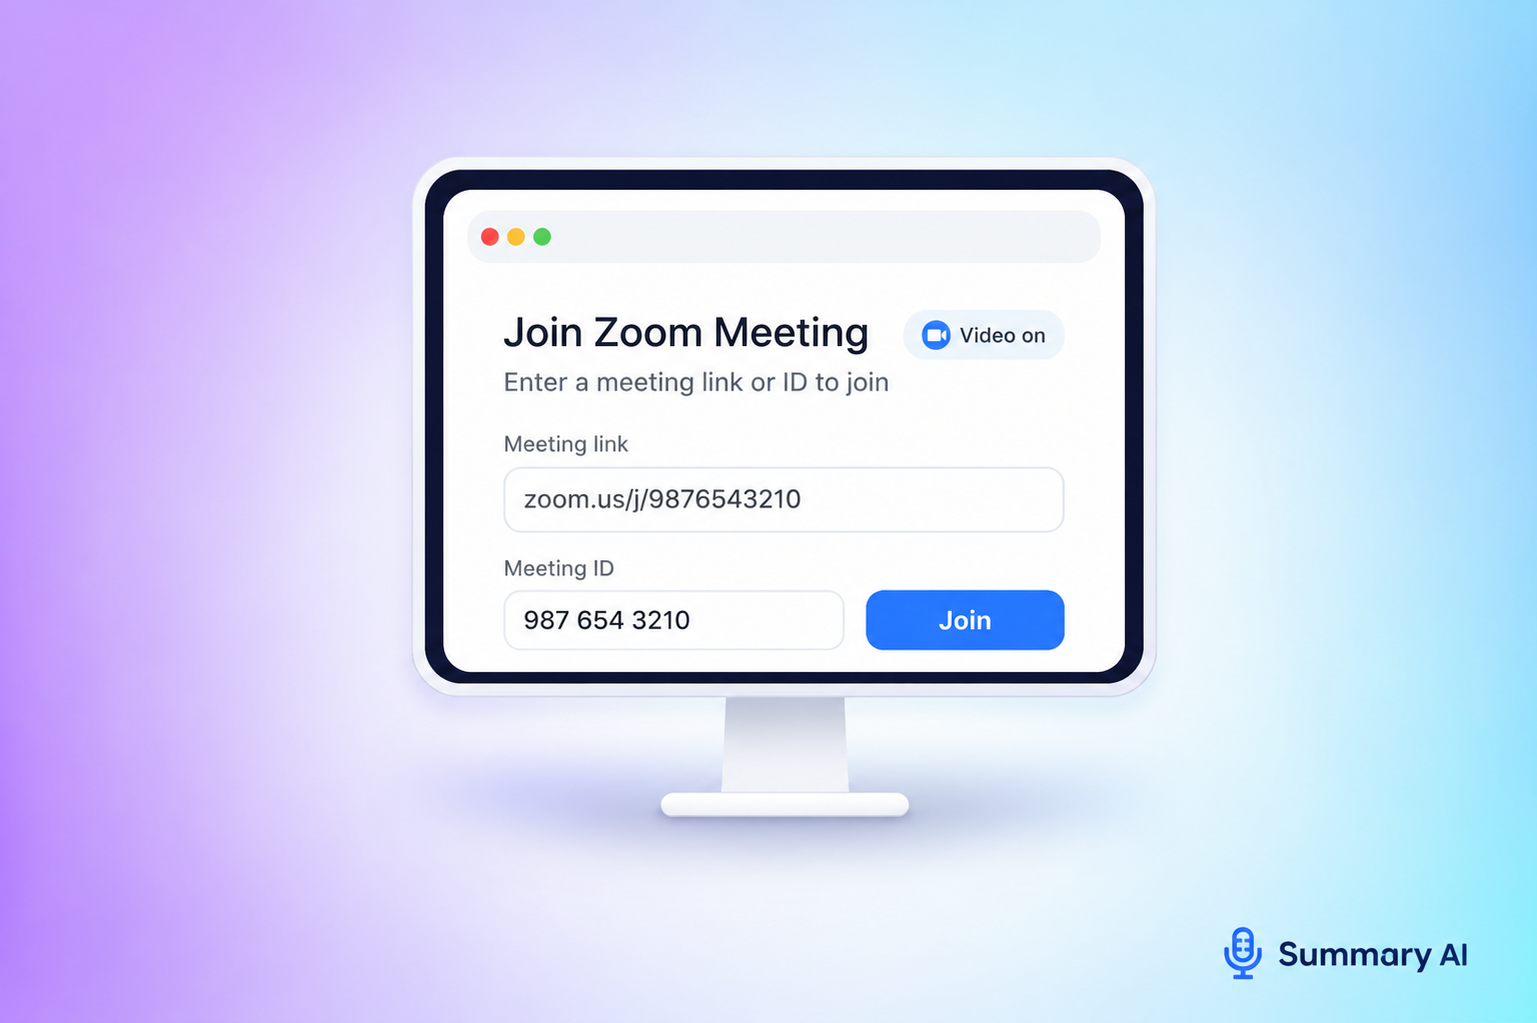
Do you record meetings often? You should try converting video to text with Summary AI – No matter what you record, having a transcription of your video is so much more useful. This give you a text document that is easy to scan and you can create an action plan based on the transcription or repurpose the text easily.
Recording your MacBook screen using QuickTime
This app also comes with your MacBook, but if you want to record your screen with QuickTime, you may realize that this option isn’t actually different than the previous one. Some Macs use QuickTime to screen record, others always use the Screenshot app.
If you realize that QuickTime Player only gives you another option to access the Screenshot Toolbar, you can do this in two ways:
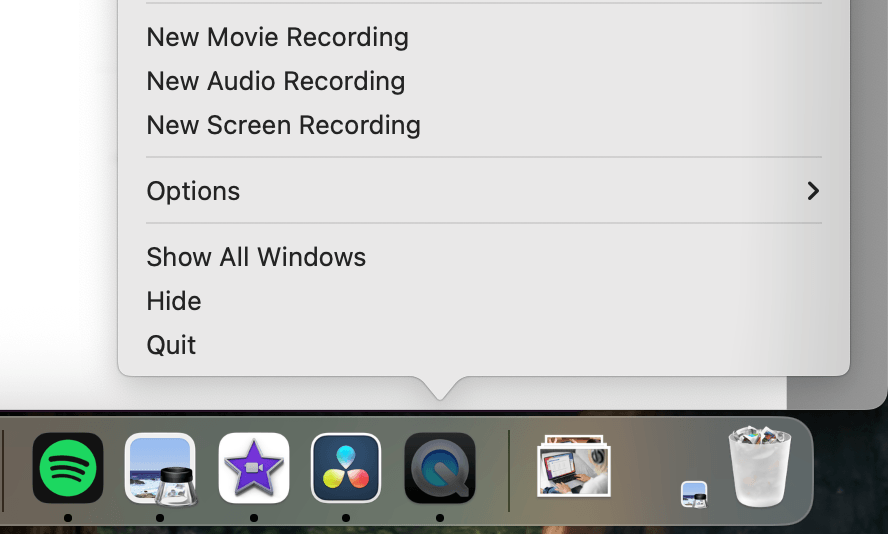
The first method is to right click the app icon at the bottom of your screen and choose New Screen Recording as seen in the image below.
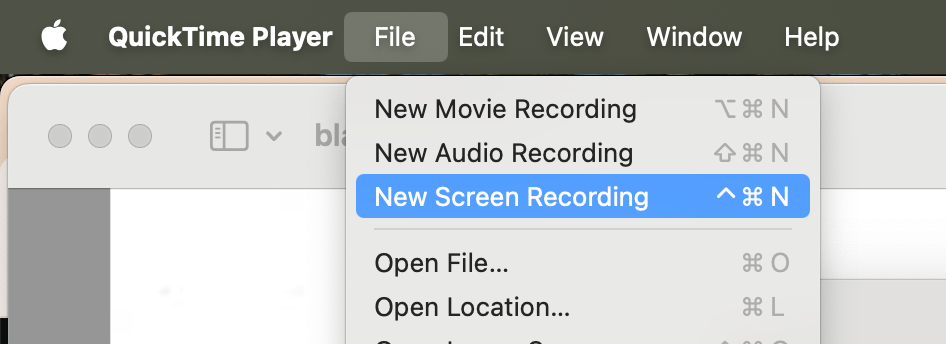
The other method is to click on File in the top menu and select New Screen Recording.
After the Screenshot Toolbar appears all of the other steps are the same as before: choose to record full screen or portion of the screen or a certain window.
Recording through QuickTime
If you see the Screen Recording window described in this official Apple Support article, screen recording on your Mac is done through QuickTime Player.
Before you start recording, click on the small arrow next to the record button to configure the settings of your screen recording.
You can record your voice on Mac or other audio during the screen recording by choosing a microphone. The audio slider lets you mointor and change the volume during recording.
If you enable Show Mouse Clicks your pointer will be more visible, which is useful for tutorials.
Click anywhere on the screen to start recording the entire screen or drag to select an area to record, then click Start Recording within the selected area. Press the Escape key during the recording to cancel it. To stop recording, click the Stop button or press Command + Control + Esc.
After you stop screen recording, QuickTime Player automatically opens the recording. You now have the opton to play, edit, or share the recording.
How to edit and save screen recording
After you stop recording, a small preview appears in the bottom-right corner of your screen which you can click to open the file.
After that, you can:
- trim the beginning or end of the video
- rename the file
- move the file to a different folder
To trim the video, you have to click the preview to open the file. Next, you click the Trim button and drag the yellow handles to adjust the start and end of the clip. Click Done and save the video.
If you close the preview, don’t worry, because the screen recording is still saved by default. It usually saves to your desktop, unless you changed the save location in Options, as mentioned above.
Need more advanced editing? You can open the video in iMovie or another video editing software.
Save time by converting video to text
Now that you know how to screen record on MacBook and save, find, and edit your saved files with ease, it is time to take the next step.
Recording tutorials and meetings, is great, but having a text transcription of your video is even better and can save you even more time. Try Summary AI today!